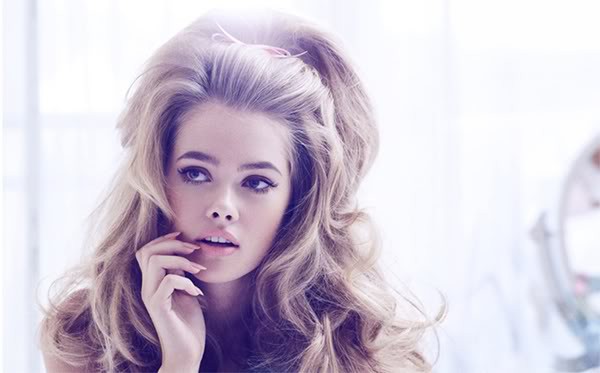
SO: You have straight, silky (often ‘virgin’ or natural) beautiful hair BUT you are bored to tears with your lack of styling options. Or you are prepping for a special occasion and are wondering how to give your hair some Va-va-Voom? This one’s for you!
Getting the most potential volume out of your fine, straight, healthy hair:
1) Shampoo with a clarifying formula (with any haircolor, be sure to use a color-safe formula or your will be stripping your hair of expensive work). Focus shampoo on your SCALP. As you rinse, the shampoo will cleanse the rest of your hair without over-drying it. If you need to, shampoo it twice to get as much oil as possible out of your hair.
2) Condition with your favorite formula, but focus only on your ENDS. Okay, maybe some got halfway up your hair? Perfect! Keep the moisture where you want it, which is never at your scalp…
3) Power-Dry
Apply heat protection (again) only to the ends of your hair, then begin to blowdry hair from your scalp out (this is called the ‘base’ of your hair) in the opposite direction of its natural ‘fall’. Adding a ‘Root-Boost’ lightly at the top of your scalp is great here.
This means: feel free to look silly and hang your head upside down, force all your hair into your face…basically you are trying to begin the drying process with the ‘base’ of your hair getting as much volume as possible.
When hair is about 75% dry, apply styling product to ends of hair, working up to the mid-shaft to give some hold for curl (foam/mousse is great here since it is generally light and doesn’t weigh hair down). Complete your blowdry with a quality round brush. This will generally smooth the ends of your hair.
Summary so far: Keep moisture away from the base of hair and blowdry for volume. If you haven’t followed these cleansing/blowdry steps before, your hair may already look fuller!

from loxabeauty.com
4)Style:
Assuming you long for a voluminous, curly or wavy style, this is your best bet:
Divide your hair into at least 3 sections: Crown, down to your ears, and nape. Clip sections to secure out of the way.
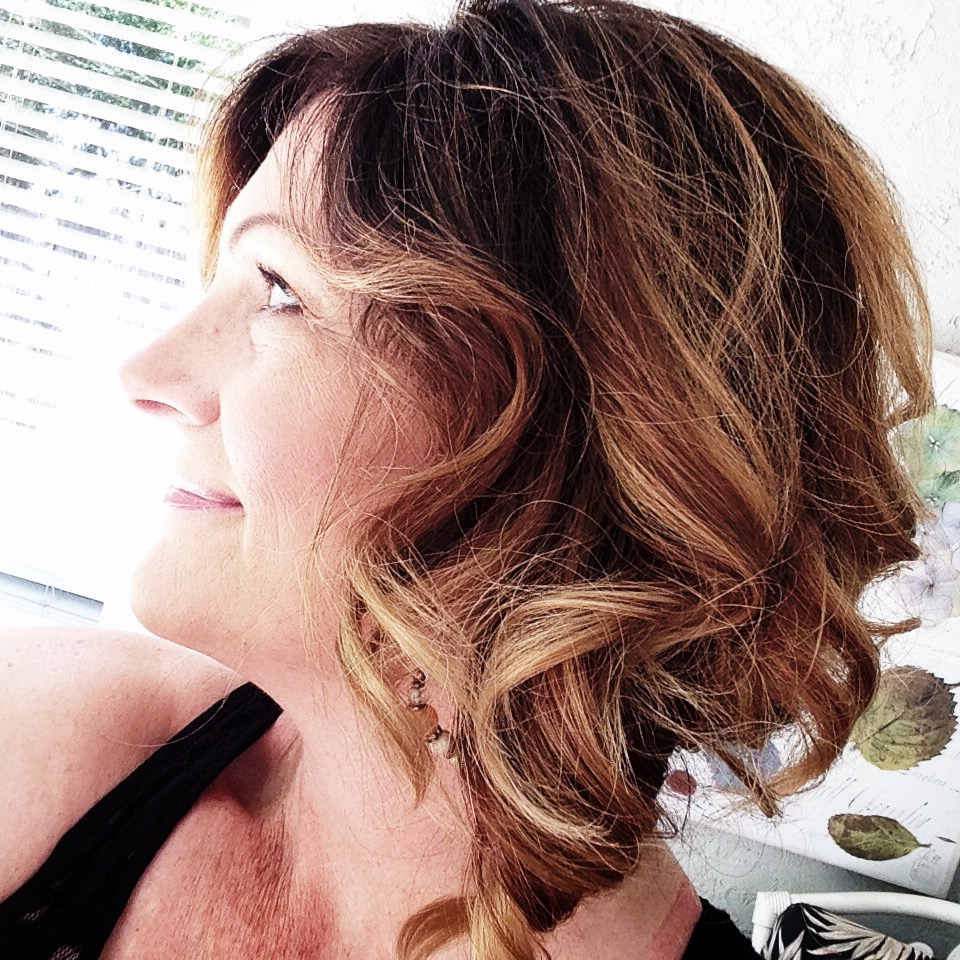
Start at the bottom, and don’t worry much about volume here unless your hair is relatively short already (shoulder-length or shorter). In small panels, focus your curling iron, wand, or smoothing iron(for curls) on the mids-ends of your hair. **Alternate the direction of each curl for more separation**.For extra ‘hold’, after dropping each curl into your hand, secure with a clip or pin against scalp and let cool. This ‘sets’ the curls. Give a super-light spray with finishing hairspray before moving to the next section.
At the MIDDLE section, change the way you are curling! Curl each small panel from the BASE of your hair out. Do not start at the ends and ‘wind’ your hair up. This can actually remove volume. This takes a little practice at first but is well worth the effort. Again, clip each curl and spray lightly with a quality finish spray.
At the CROWN section, keep curling from the base out…but add to it a bit of ‘overdirection’. This means: sectioning your hair into small panels, gently pull your hair forward (or UP) as you begin to curl the base of your hair on top. Then don’t just drop the curls but secure them ‘barrel-style’ to the crown of your head and let cool (5 mins or so). You should look exactly like your Grandmother at this point! Again, lightly spray…
5)Pump It UP!
Remove all clips/pins from your curls starting from the bottom.
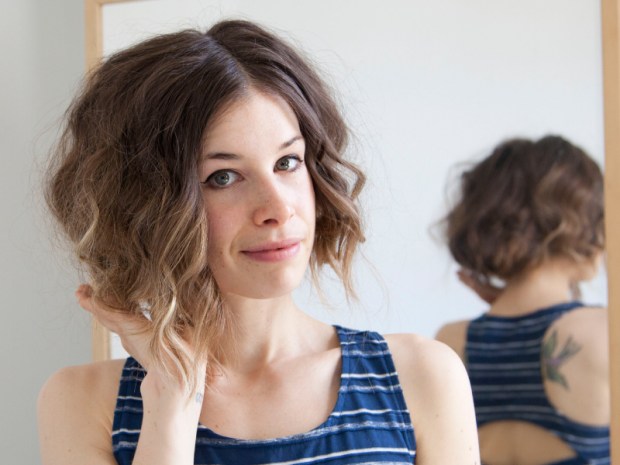
Turn your head UPSIDE DOWN and run your fingers through your hair to separate the curls! I think of this a ‘frazzling’ and there’s an art to it…separate without completely brushing the curls out. It works. If you want waves, feel free to pick/lightly brush through your hair at this point. In this upside-down position, apply a light allover mist of finishing spray and let dry for 15 seconds or so. Stand up.
This is one of the best parts and the one thing I sincerely wish I could perform in a salon but alas professionalism…
WITH FINGERS: Gently re-arrange those curls. Don’t do too much pulling, but separate and place them where you want them. Add some light teasing if needed for really flat areas, then give a last finishing spray.
Last Important Note: Now Leave Your Hair Alone. That’s it!
I would love to hear if any of these styling tips were new to you, or if you know of other ideas I left out, but mostly if any of these tips actually WORKED on your fine hair!
To read more on this check out